I had some really wet beech wood I turned into vessels, not much hollowed out inside, just enough for a few dried flowers. After a few weeks one side inevitably develops a large crack down the side.
Before this I’ve only turned bowls and have a system for limiting cracks.
Question is: is it the beech? Or how much moisture it was holding? Or that the walls were significantly thicker than a bowl? Looking for some feedback to turning these in the future.
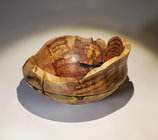
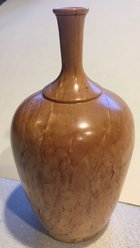
Attached not the best image due to low light but you can see the crack that developed a few weeks after turning.
Before this I’ve only turned bowls and have a system for limiting cracks.
Question is: is it the beech? Or how much moisture it was holding? Or that the walls were significantly thicker than a bowl? Looking for some feedback to turning these in the future.
Attached not the best image due to low light but you can see the crack that developed a few weeks after turning.