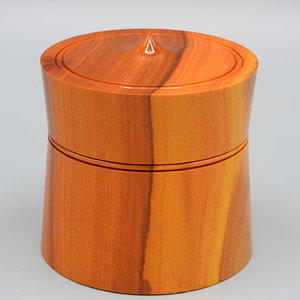
I am developing (!) my skills with threaded boxes.
I try to use "interesting" /figured wood and attempt to match up top and bottom. Clearly any lidded box loses a portion at the join/overlap. I am trying to minimise this by:
Cutting the top off using a band-saw once the spigots have been made at each end.
Starting the thread cutting at the same point at top and bottom, so minimal trimming for pattern alignment.
Using a 1.6mm parting tool for the relief at the base of the threads in the male spigot. Experience has shown I need about 1-1/2 "widths" of this so about 2.4mm relief. This is to allow the body of the cutter clearance. The cutting tips, when engaged to the 5 clicks, are thinner at that point than the overall thickness of the cutter. (see pic Box 1) Hence the need for the wider relief recess
By using a deeper threaded recess in the top there is no need for the relief in the top. I am using the 16 tpi jig.
I am using only 1-2 threads as my test market said more than 3or 4 “wrist twists” is irritating (and most non wood turners don’t care about my expertise!)
Is there a clever trick I am missing?
Thanks
Michael
--
Michael Beswick
07774 801983