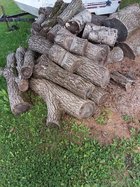
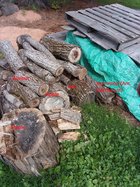
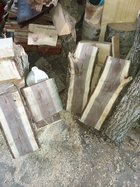
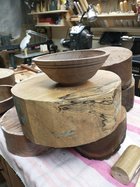
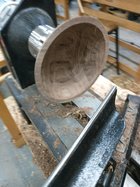
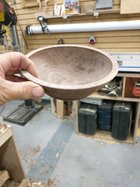
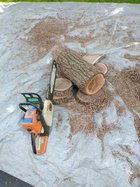
I recieved some firewood and to my surprise it had some nice walnut rounds mixed in. I refuse to burn good walnut so I cut some up for bowl blanks today. I really have not turned a bowl yet but I am getting stocked up for when I learn how.
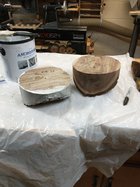
The Walnut is at 34% moisture (measured on a pin type meter) so I got them cut and put some anchor seal on the end grain and put them in the garage to start drying.
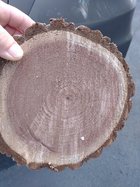
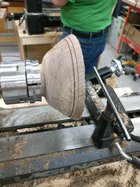
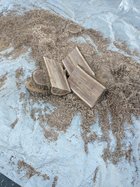
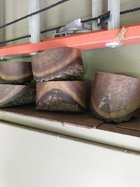
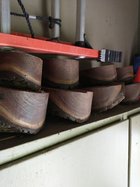
Due to cutting the pith out , some of the blanks are only 5 inches due to being limbs on the small size, and the biggest ones are around 9 inches.
Am I going about this the right way?
I am taking a class next week at WoodCraft called intro to bowl turining and will have a ton of quesitons for the instructor.
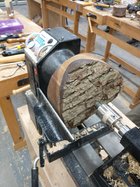
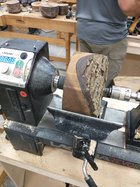
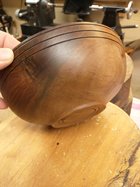
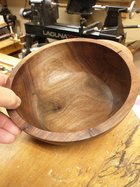
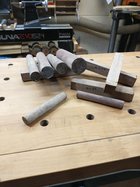
I am going to attach some pics for everyone to see of my process.
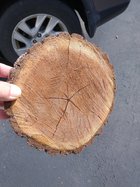
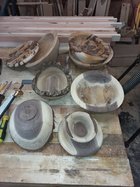
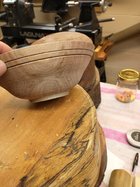
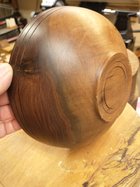
After cutting some of the blanks had hidden knots that were not on the outside of the round but burried deep into the log, you can see on the pic that there are some small knots? The outside was perfectly clean with no limbs - So where did they come from??? And will it be a problem when I go to turn them???
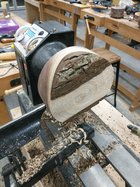
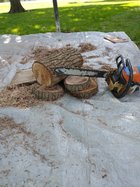
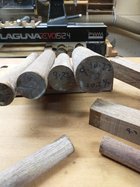
Using a circle cutting jig on my band saw I made short work out of cutting them up.
I was able to get 13 blanks that would have been burned as firewood.
Thanks for any comments.
The Walnut is at 34% moisture (measured on a pin type meter) so I got them cut and put some anchor seal on the end grain and put them in the garage to start drying.
Due to cutting the pith out , some of the blanks are only 5 inches due to being limbs on the small size, and the biggest ones are around 9 inches.
Am I going about this the right way?
I am taking a class next week at WoodCraft called intro to bowl turining and will have a ton of quesitons for the instructor.
I am going to attach some pics for everyone to see of my process.
After cutting some of the blanks had hidden knots that were not on the outside of the round but burried deep into the log, you can see on the pic that there are some small knots? The outside was perfectly clean with no limbs - So where did they come from??? And will it be a problem when I go to turn them???
Using a circle cutting jig on my band saw I made short work out of cutting them up.
I was able to get 13 blanks that would have been burned as firewood.
Thanks for any comments.
Attachments
Last edited:


")