• It's time to cast your vote in the August 2025 Turning Challenge. (click here for details)
  • Congratulations to Ted Pelfrey for "Cherry Burl" being selected as Turning of the Week for September 1, 2025 (click here for details)
  • Welcome new registering member. Your username must be your real First and Last name (for example: John Doe). "Screen names" and "handles" are not allowed and your registration will be deleted if you don't use your real name. Also, do not use all caps nor all lower case.

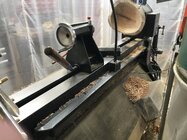
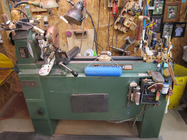
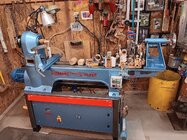
After 33 years with my Woodfast lathe, a new lathe is now on the way!

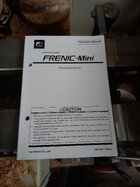
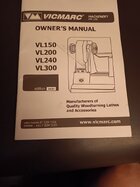
The manual for the VL240 is pretty good actually!

....and, it was written by somebody who actually speaks English.....that's the good news! :)

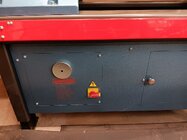
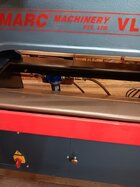
It is a bit disappointing however, that it doesn't have any explanation of the controls shown in the little window in the base cabinet. Anyone here have the wherewithal to understand what these controls do????? The readout shows the actual motor rpm, but I have no idea what the up and down buttons are supposed to do. The little white knob appears to be a reset button though.....

=o=
20250828_013423.jpg
 
Last edited:
Actually there were 17 production jigs that needed altering.....but as of this afternoon, all have now been converted to be used on the Vicmarc lathe.

Glad that's done, and without having to completely disassemble or redesign any of them! (....took a heck of a lot of sanding in tough places, though!)

Next step is to build some shelving on the back side of the lathe....

=o=
View attachment 78937

So many questions! What's the purpose of the paint roller attached to the bottom of the lathe?
 
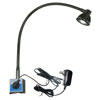
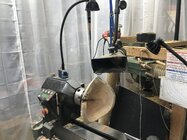
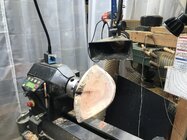
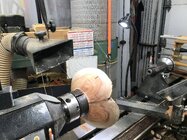
@Odie here are some pics with the Highland Hardware lights I linked to previously on my lathe, on and off, to give a better perspective, as well as the piece of angle clamped to the backside of the lathe bed to hold a rearward light (as well as as a dc collector at times). The ~1/8" steel plate on the headstock is mounted with 3M Auto Emblem double sided tape, to provide a much higher magnetic base force. The painted cast iron just didn't hold well. The mag bases hold just fine when placed on top of the machined lathe bed.

The necks on these lights are "just right" IMO. I can adjust light position without gripping the base (unless I really need to bend the neck tightly). The much more expensive light I have, with a super duper thick stiff neck, required holding the base for just about any light adjustment, and took a lot of strength to make tighter curves in it. Sometimes you can get too much of a good thing.

1756392701453.jpeg


1756392807906.jpeg


1756392924071.jpeg


1756393223427.jpeg
 
So many questions! What's the purpose of the paint roller attached to the bottom of the lathe?
Hi Kent..... :)

It's the same "hip rest" you see here:
1756395974071.png

=o=
 
The ~1/8" steel plate on the headstock is mounted with 3M Auto Emblem double sided tape, to provide a much higher magnetic base force. The painted cast iron just didn't hold well.

Good tip......thank you Doug. :)

=o=
 
It is a bit disappointing however, that it doesn't have any explanation of the controls shown in the little window in the base cabinet. Anyone here have the wherewithal to understand what these controls do????? The readout shows the actual motor rpm, but I have no idea what the up and down buttons are supposed to do. The little white knob appears to be a reset button though.....

=o=
Hi Odie, those are for setting up the inverter and for running the lathe IF you didn't have the magnetic backed controller with forward/reverse, speed and stop. My friendly advice is to leave those buttons alone. About a year ago, I started placing a sticker on our lathes to tell the owner to leave these buttons alone. It reduced our service calls from well meaning new owners ;)
 
Hi Odie, those are for setting up the inverter and for running the lathe IF you didn't have the magnetic backed controller with forward/reverse, speed and stop. My friendly advice is to leave those buttons alone. About a year ago, I started placing a sticker on our lathes to tell the owner to leave these buttons alone. It reduced our service calls from well meaning new owners ;)

Thanks Brent..... :)

Like a complete idiot, I did punch some of those buttons, but luckily nothing happened....lathe is working fine.

I'm going to take your advice and place something over the opening to prevent me, or anyone else from doing stupid things in the future.... :)

Have a good day Brent :)

=o=
 
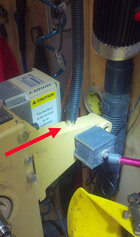
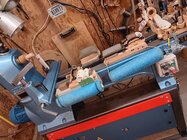
You're right Kevin....... That screw for the banjo post clamp is too short to work with the adaptor. The funny thing is there were four clamps supplied with this lathe. One of them is longer than the other two, and the fourth has smaller size threads that goes with the tailstock quill locking clamp.

I grinded on the supplied screw and made the shoulder deeper, and now it has a longer reach..... this works fine......but, if I had known there was a longer screw in the accessories box, that would have saved me some time and effort modifying the supplied screw to fit.

Of those four screws supplied, I have yet to see where the fourth screw actually goes!

View attachment 78798

=o=
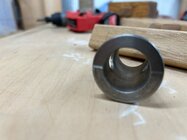
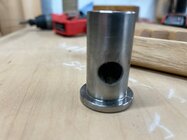
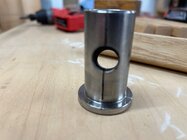
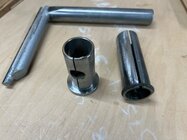
Odie - here are some pictures of my modified Vicmarc adapter. I past this along to Dave Delo and he has done it to his adapter as well.
I cut a slot thru the hole on one side only, using a hacksaw. I scribed a line on the top indicating where the slot is. When I use the adapter I align the slot perpendicular to the clamp screw. No need for a longer bolt.
I’ve used it for well over a year and have had no issue. It clamps very tightly.
 

Attachments

  • IMG_2609.jpeg
    IMG_2609.jpeg
    484.6 KB · Views: 8
  • IMG_2608.jpeg
    IMG_2608.jpeg
    445.2 KB · Views: 8
  • IMG_2607.jpeg
    IMG_2607.jpeg
    457.2 KB · Views: 8
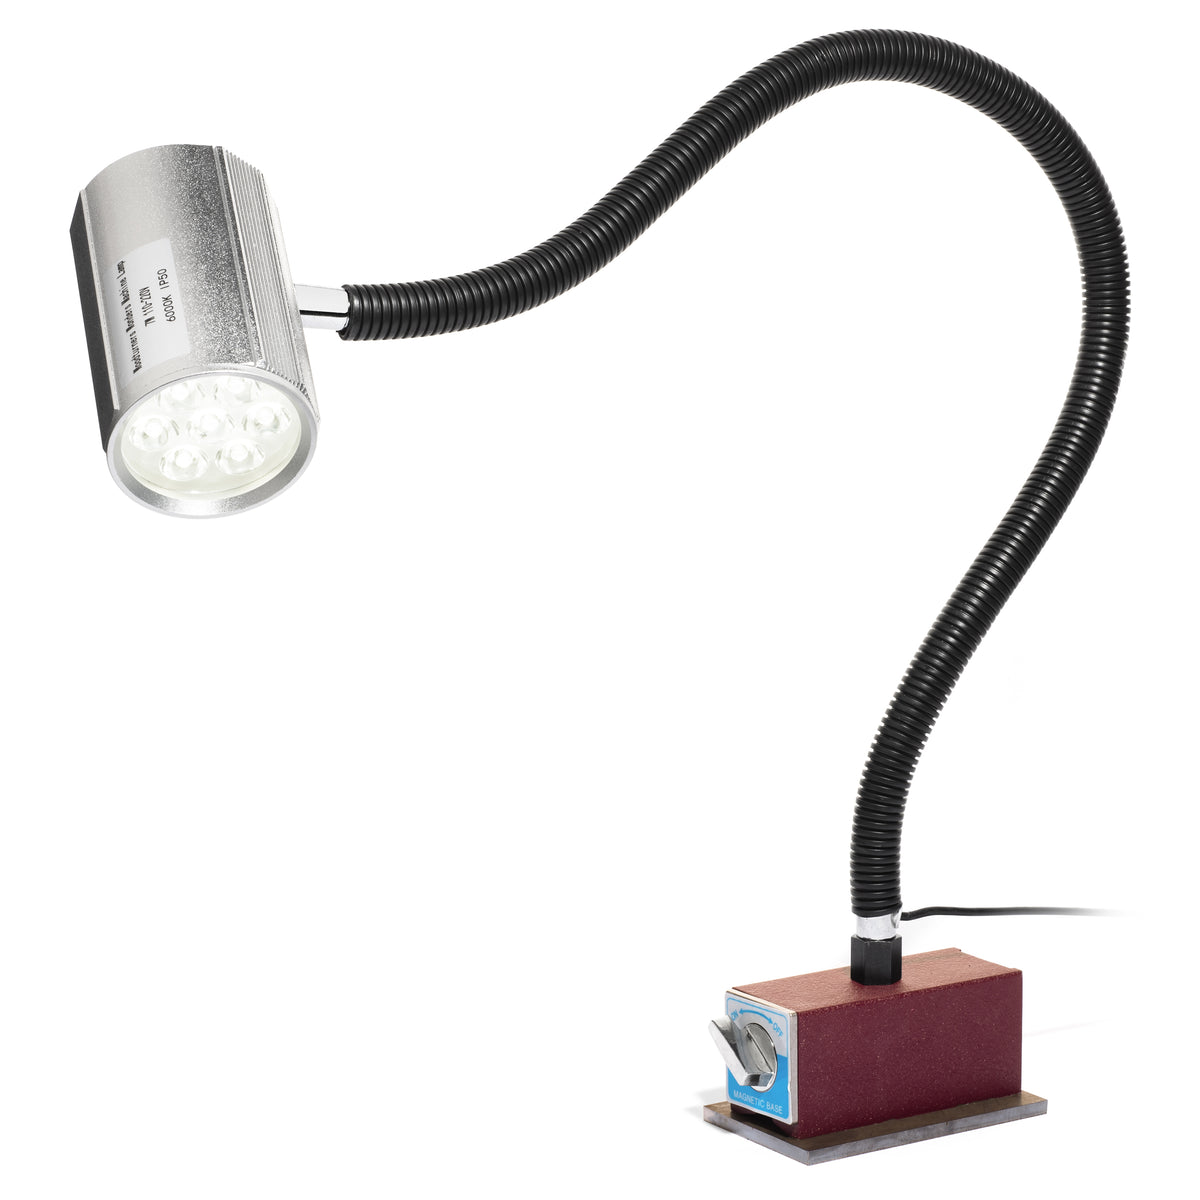
Note: I put out an enquiry about current production lights in another thread in the "newbie" forum, but not getting much response there.
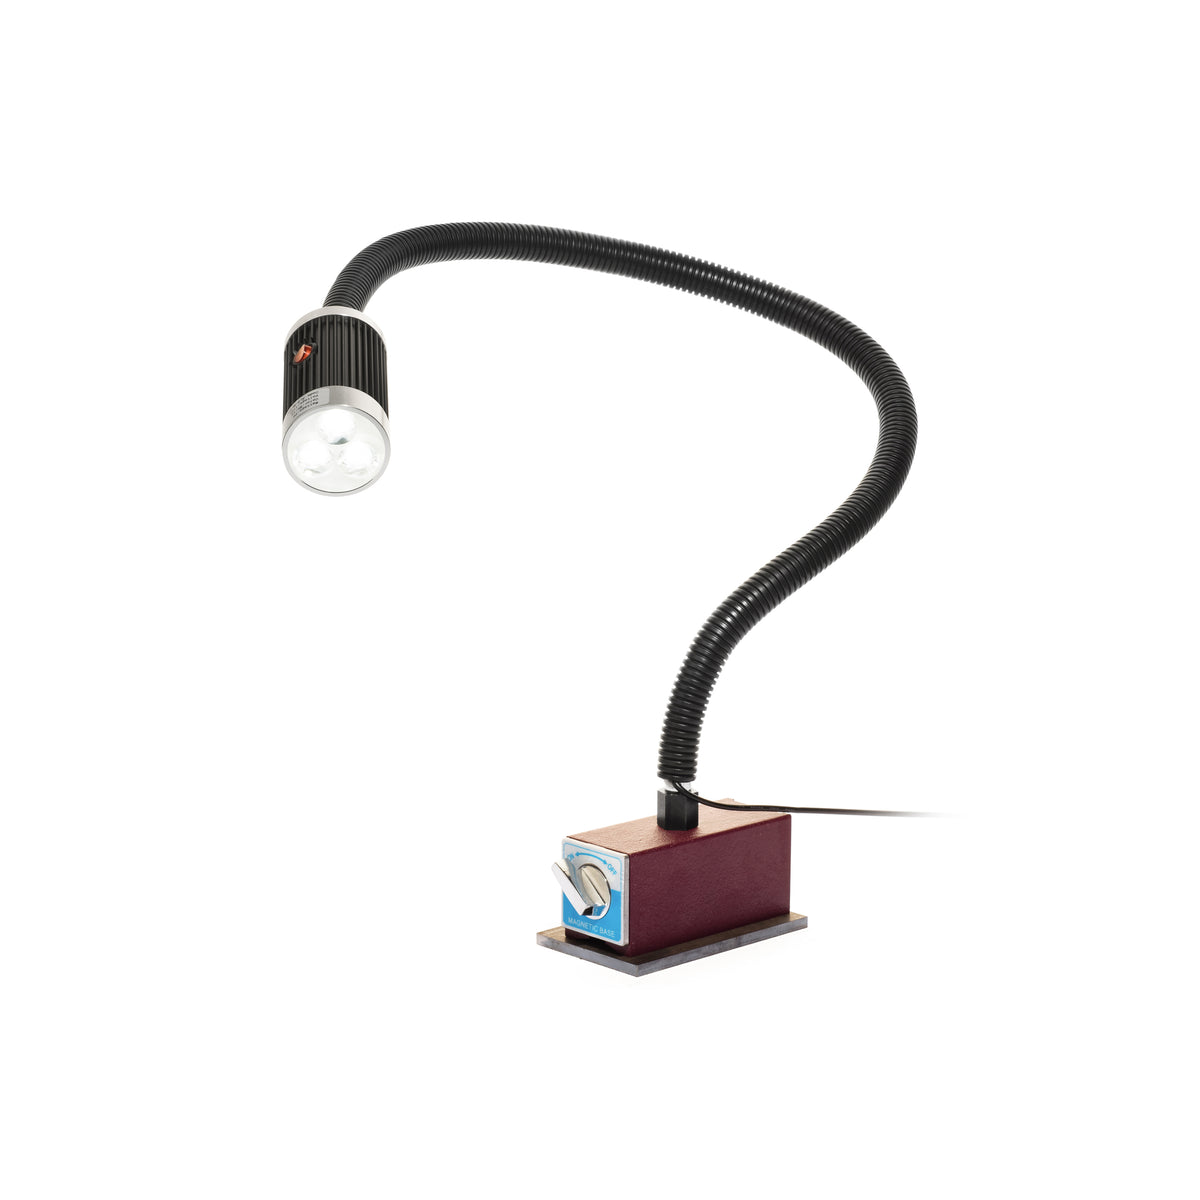
These are some that I'm considering:
I have either the Quasar or one like it and while it produces good light, I keep whacking it with my turning PAPR helmet. It's set on the top of my Powermatic headstock and in order to get the light straight back down on the wood, it ends up a little lower than might be expected. The on-off magnet could be a little stronger, too, as it will slide around when nudged.
 
I have either the Quasar or one like it and while it produces good light, I keep whacking it with my turning PAPR helmet. It's set on the top of my Powermatic headstock and in order to get the light straight back down on the wood, it ends up a little lower than might be expected. The on-off magnet could be a little stronger, too, as it will slide around when nudged.

Dean,

Don't know if it will work for you but to mount a WTW Supernova lamp on my PM3520b I ditched the magnet. Drilled and taped a hole on the top of the cast iron bracket on the back of the headstock, made, I think to hold a reference spindle. That mounts it a little further back and out of my way but the flexible shaft is long enough to put the light exactly where I want it. The magnet was annoying me.

lamp_mount_IMG_20171228_214144_854.jpg

For other places without steel (plywood walls, etc) I cut pieces of steel plate, drilled and countersunk four holes in the corner, and fastened them with screws. The SN lamp magnet holds very well. I use one plate on the wall behind the sharpening station, another at a second wood lathe, one at the metal lathe.

JKJ
 
Actually, I'm pretty sure it's to hold the guard cage / shield...

You are correct. But note that according the manual the bracket has a dual purpose.
From page 16:

The spindle comparator consists of two​
comparator centers inserted into the brackets at​
the back of the Lathe. ...​
WARNING: The guard must be removed​
to use the spindle comparator. Use caution​
and wear a face mask when turning without​
the guard installed​

The manual shows photos of the bracket being used for both the guard and the comparator, for example pages 10 and 17.

I didn't get a paper manual when I bought my 3520b used. For anyone interested, I found the manual online:
PM 3520b manual

I did get both brackets and the comparator centers with the lathe but never used them. My spindle turning is mostly "freestyle"!

JKJ
 
Odie - here are some pictures of my modified Vicmarc adapter. I past this along to Dave Delo and he has done it to his adapter as well.
I cut a slot thru the hole on one side only, using a hacksaw. I scribed a line on the top indicating where the slot is. When I use the adapter I align the slot perpendicular to the clamp screw. No need for a longer bolt.
I’ve used it for well over a year and have had no issue. It clamps very tightly.
That seems like a great solution.
 
Here’s a picture of a Vicmarc side by side with a Sinner adapter.
I got the idea to split the Vicmarc open from the Sinner which I was never able to get to fit.
 

Attachments

  • IMG_2611.jpeg
    IMG_2611.jpeg
    612.5 KB · Views: 9
Just curious, why the wish for a bigger magnet footprint? From the picture it looks like the same base as on their SuperNova lamp.
Hey John. It does hold pretty well most of the time. I do find that it is sometimes weak with lateral movements. So, when positioning the magnet on a vertical surface I have to be aware of the orientation. If there was about 1cm more width on the left and right surface it would probably be okay. Part of it is me being lazy though and avoiding solutions haha.
 
I had a big magnet that wasn't being used and it occurred to me that it could cover the inverter controls so that nobody will mess with them.
20250830_074842.jpg
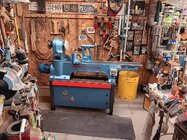
All the jigs have been converted to the new lathe (I think!)......The strong neighbor kid and his dad helped me do the switcheroo of the two lathes and now the Vicmarc is in it's permanent location.
20250830_074834.jpg

I was out in the shop most of the morning taking care of all the loose ends, and am currently building a shelf on the back side that will be used to mount the air separator.......I'll get a pic later.

=o=
 
I will use concrete anchors to secure the lathe but have decided to turn a bowl or two and see if the location is right before I commit to drilling holes in the shop floor. Looks like I was lucky and the four feet of the Vicmarc appear to be flat to the concrete floor.....no levelers needed! :)

When I removed the old Woodfast lathe, I saw 8 anchor holes. It was so long ago that I can't remember exactly why the Woodfast lathe needed to be moved. The anchors must have been installed before realizing whatever it was that made me change my mind about its original location.

=o=
 
I had a big magnet that wasn't being used and it occurred to me that it could cover the inverter controls so that nobody will mess with them.
Odie, I can't tell you that's a bad idea. But I also can't tell you it's a good one. I just wouldn't want a big magnet next to all those sensitive electronics.
 
Odie, I can't tell you that's a bad idea. But I also can't tell you it's a good one. I just wouldn't want a big magnet next to all those sensitive electronics.

OK.....no probem......I can restrict access another way.......

Thanks for letting me know the magnet could be a problem, Brent...... :)

=o=
 
That is a sweet looking lathe Odie, can’t wait to hear your review once you turn some on it. My next lathe purchase is between Vicmarc and Robust AB.
 
Last edited:
Odie, I can't tell you that's a bad idea. But I also can't tell you it's a good one. I just wouldn't want a big magnet next to all those sensitive electronics.
Thanks from me too Brent! I’ve had a big round magnet out of a microwave magnetron for a couple of years on the headstock of my 3520C. Holds the chuck key for me, but I don’t want to push my luck, especially since the machine just went off warranty. I’ll find another way to secure it.
 
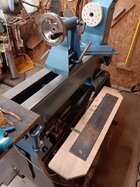
The shelf is done and added is a steel plate that will be used for magnetic bases of lights and fixtures. The airline water separator is mounted to the underside, and the little dowel handle is attached to an air valve. Air pressure for a fixed stream is manually adjustable.
20250830_182407.jpg
The airline water separator seen from the front:


20250830_182528.jpg
=o=
 
Zounds!

Certain of us (I mean me) might benefit from a little schooling of what you use some of those jigs for, maybe favorites or most used? I can't begin to imagine.

JKJ
Mornin' John.... :)

The two blocks of wood on the left have magnets attached so they can be placed anywhere. I call these "whackers" and their purpose is to get rid of spots of crud that builds up in the flutes of gouges. The two jigs in the center are tool holders, and fit within the bedways. The big jig on the right has a lot of little things that are helpful for my bowl turning......four kinds of pencils, two types of homemade depth gauges, a couple of straight edges to check for flatness on foot and rims, three tool holders, a dental pick......and, probably a few things I'm forgetting at the moment.
20250831_160614.jpg
Here are four removable pads for hips and elbows. The hip pads are used constantly, and the other two only occasionally.
20250831_163810.jpg
=o=
 
Mornin' John.... :)

The two blocks of wood on the left have magnets attached so they can be placed anywhere....

I see a road trip possibility - stop and soak in all of your wisdom and experience. Well, ALL of it would probably explode my brain. Maybe metered amounts.
JKJ
 
I see a road trip possibility - stop and soak in all of your wisdom and experience. Well, ALL of it would probably explode my brain. Maybe metered amounts.
JKJ
John, probably 8+/- years ago, Odie started a thread on shop gadgets and tricks and jigs and such, and he started off with some of the original solutions he's come up with. It was active for a couple of years, so there is a LOT of cleverness from many people in the thread. I can't recall the title, but either someone will chime in or you can search through Odie's OP posts.
 
John, probably 8+/- years ago, Odie started a thread on shop gadgets and tricks and jigs and such, and he started off with some of the original solutions he's come up with. It was active for a couple of years, so there is a LOT of cleverness from many people in the thread. I can't recall the title, but either someone will chime in or you can search through Odie's OP posts.

Actually it's been a dozen years ago now......still a lot of useful information in that old thread.....over 8 pages long!


=o=
 
John, probably 8+/- years ago, Odie started a thread on shop gadgets and tricks and jigs and such

Actually it's been a dozen years ago now......still a lot of useful information in that old thread.....over 8 pages long!


=o=

Thanks. I just scrolled through many of those post and see lots of interesting ideas. Will look again later and make notes about some in my tips notebook. (AFTER I finish preparing for an upcoming demo!) Also interesting are the way people think alike and variations I've seen others. including myself, devise independently. Much of the specific usefulness depends, as usual, on the types of things people like to make in the shop, how much space they have, and how they learned to work efficiently. What a huge field is this woodturning addiction!
 
Note: I put out an enquiry about current production lights in another thread in the "newbie" forum, but not getting much response there.

These are some that I'm considering:


(Looking for a little feedback and comments on lathe lighting.....thanks.) :)

=o=
From Amazon, base screws in, no magnet. Any magnetic option that affixed to the bed was in the way of the tool rest banjo, and magnetic to the headstock requires a very large and expensive lamp. This on screws to the wall behind the lathe.

Articulating Led Work Light, 18W Machine Lights, 1800 Lumens Flexible Wood Lathe Light Drill Press Lighting 110-220v​

@Doug Machin
Can you provide a URL link for that light? An amazon search was inconclusive.
 
Back
Top