Mines supposed to be on it's way and I was wondering if anyone had any pictures of their setup mounted on the lathe?
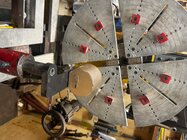
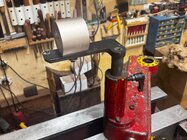
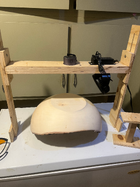
I found one where it is a 1 inch dowel mounted in the banjo with a piece of wood mounted horizontally across the top with a series of holes I guess in case you want to move it out for larger bowls for burning on the outside.
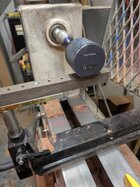
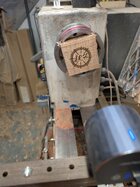
I'll probably do initial playing ummm testing on the workbench but I thought I might try some patterns eventually on the sides of a bowl or hollow form. (if I ever get those figured out)
Thanks
I found one where it is a 1 inch dowel mounted in the banjo with a piece of wood mounted horizontally across the top with a series of holes I guess in case you want to move it out for larger bowls for burning on the outside.
I'll probably do initial playing ummm testing on the workbench but I thought I might try some patterns eventually on the sides of a bowl or hollow form. (if I ever get those figured out)
Thanks