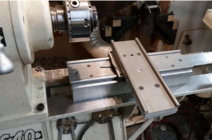
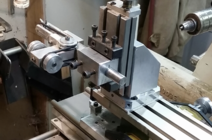
I am thinking a NRS for truing up the top and bottom of the box, and a straight/square cutter for the recess and tenon. It will take some time to play around with it and find out what works best.
As for size, I do have a big leaf maple box that is 8 inches high, and 5 or so inch diameter. After several years, it has moved a tiny bit. I can still twist the lid all the way around. I would worry that if I moved to a different climate, it would move enough to cause removal problems. Since it was made from one piece of wood, I figure the top and bottom will move in the same way, so while, eventually, I may not be able to spin the lid all the way around, it still should come off. I do have one that some one made and gave me, about 1 1/2 inch diameter, and the lid does come off, but it gets kind of snug. I think the maker was in New Orleans.
robo hippy