Follow along with the video below to see how to install our site as a web app on your home screen.
Note: This feature may not be available in some browsers.
Congratulations to Phil Hamel winner of the April 2025 Turning Challenge (click here for details)
Congratulations to Paul Hedman and Donna Banfield for "Fire and Ice" being selected as Turning of the Week for 5 May, 2025
(click here for details)
Welcome new registering member. Your username must be your real First and Last name (for example: John Doe). "Screen names" and "handles" are not allowed and your registration will be deleted if you don't use your real name. Also, do not use all caps nor all lower case.
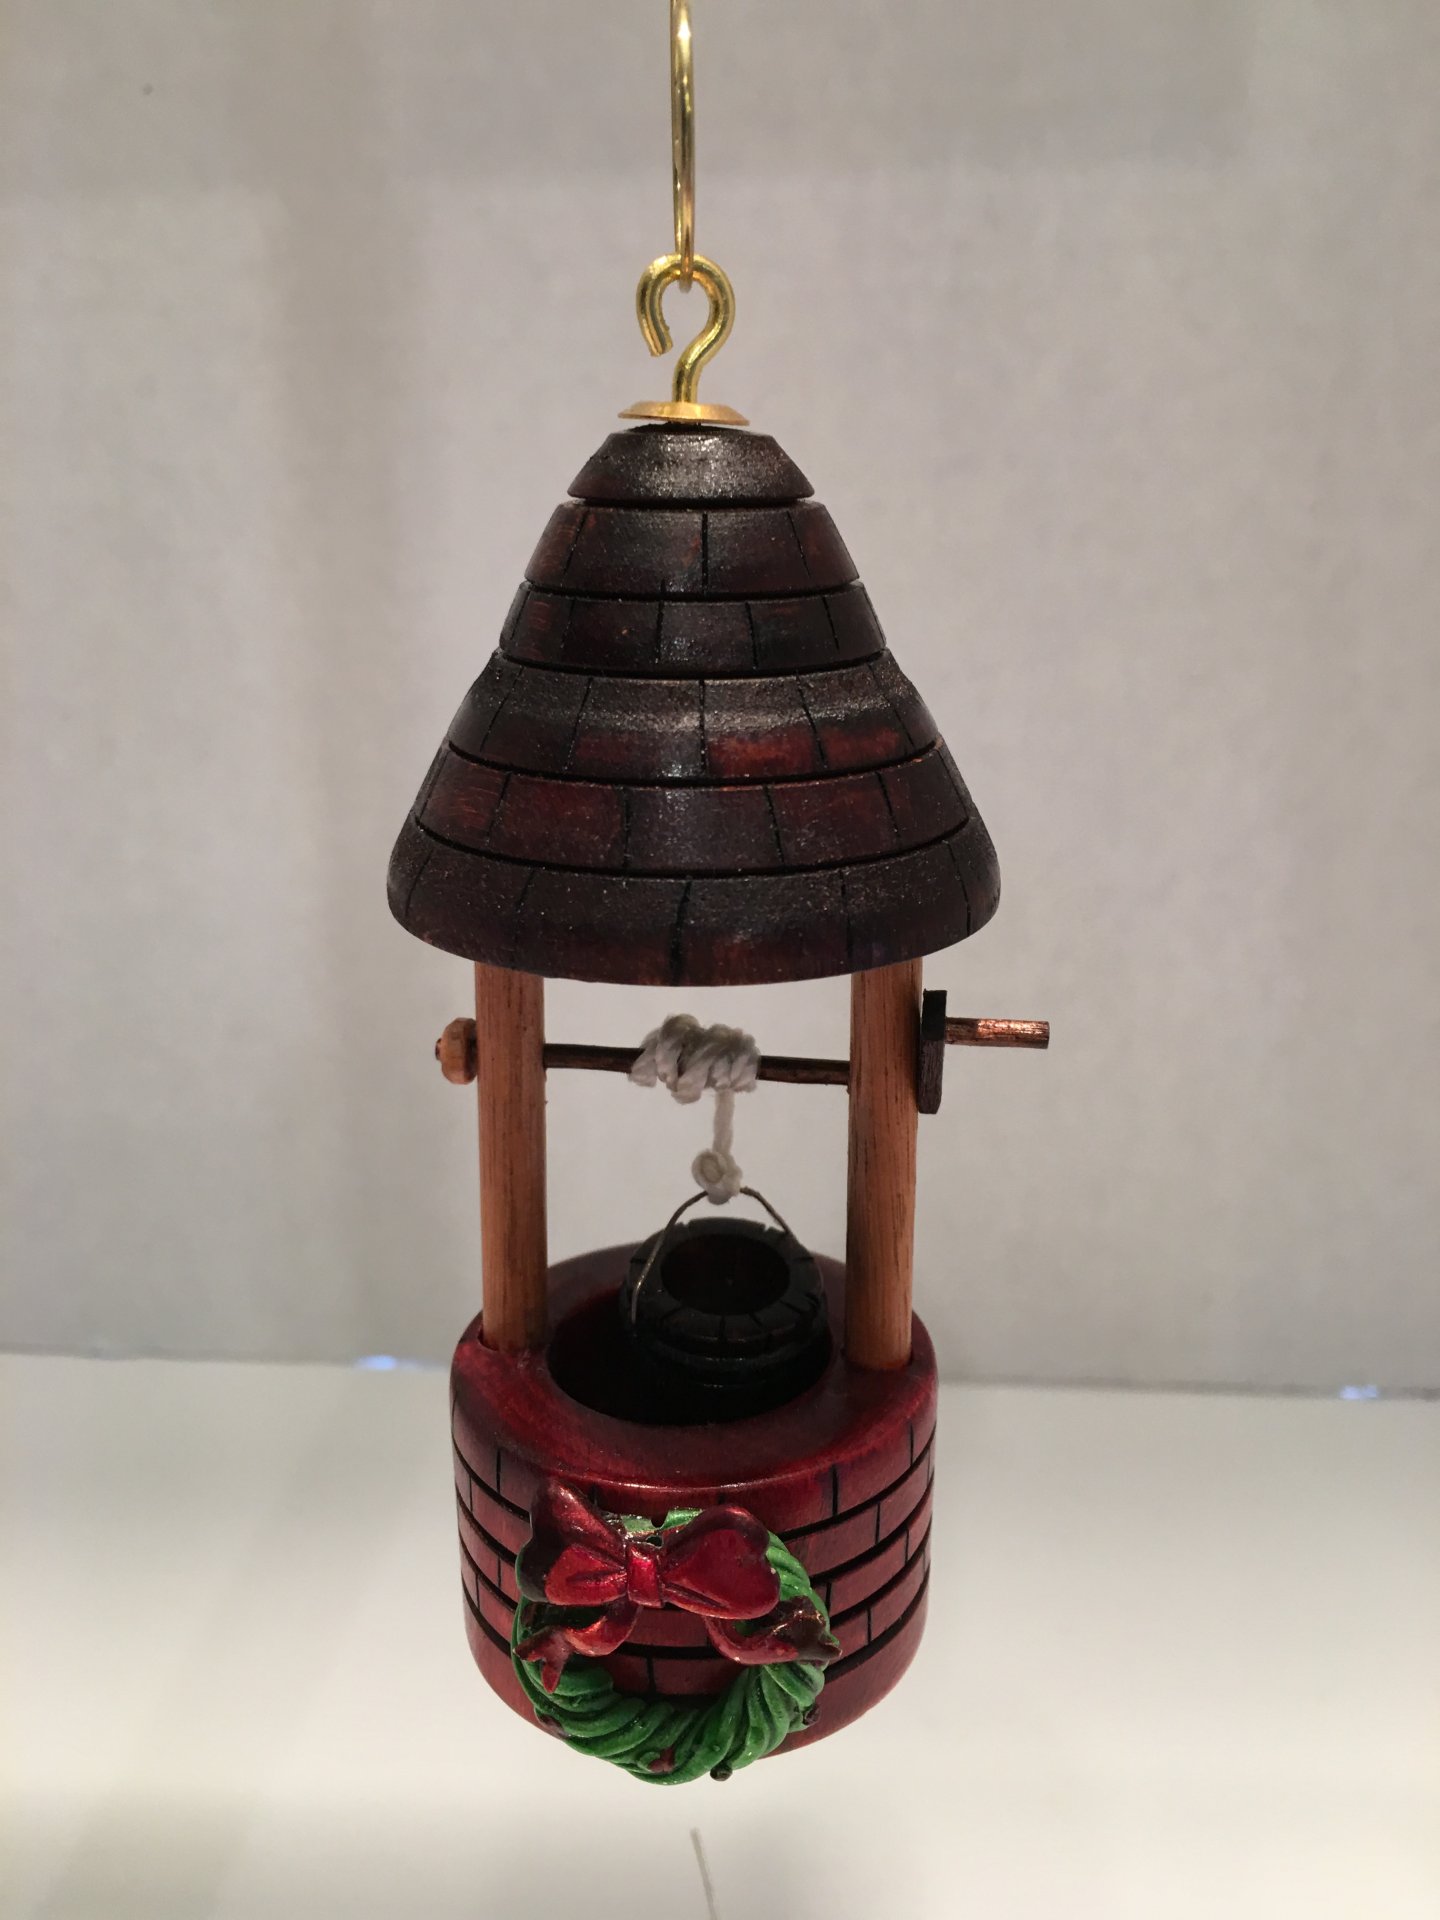
Screw it in after adding a tiny drop of CA glue. That is a very nice ornament! I'm intrigued by the time it took to cut the lines for the top and the well. OK, how did you do it?
@John Torchick thanks John, wasn't too hard and really didn't take too long. The radial lines I used a wire burner on the lathe for the top and bottom. Too keep spacing I used a pointed divider. I then used my wood burner for the vertices lines. Top free hand, the bottom I pencil marked to make brick widths somewhat equal then burned the vertical lines. Drilling the post holes I used the OneWay drill wizard I bought at the symposium. First did the bottom using dividers to scribe center a line. Leaving the dividers set did the same for the roof. I leave the top somewhat slightly rough sanded for a different look. I've made several of these with different variations on the base and top. The wreath is from HL. I round the back on my oscillating sander before gluing on.
This site uses cookies to help personalise content, tailor your experience and to keep you logged in if you register.
By continuing to use this site, you are consenting to our use of cookies.