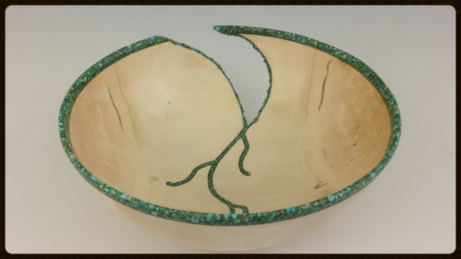
Hi, I work with a lot of mesquite, and well, seems like everything I have has some worm or ant holes in it. So I"m looking for a good material to use to fill said holes. I have tried crushed mother of pearl, and it looks like white plastic so pointless. I have some aluminum powder, but the ca glue has a very difficult time penetrating it. So once it dries and I turn it clean I then have voids in my voids! Further if you mix it up with epoxy it just doesn't look shiny like metal. So I'm over it.
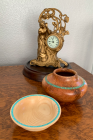
I know a lot of folks like turquoise, but I think I must have been traumatized by turquoise as a child or something, but I just don't want to use it.
Ultimately I'd like something that I can pack and then put CA glue on and it will penetrate. It's faster and easier and cheaper and I'm lazy.
And yes I know sawdust works great. But I'd like something to provide contrast. But perhaps I'll save up different colors of sawdust, like white sapwood, red mesquite, brown pecan etc. That might work too.
Thanks for thoughts,
Raif