I made the Polycarbonate screen for safety reasons. It would not be difficult to inadvertently touch any moving parts. Also, should a cutter come lose …
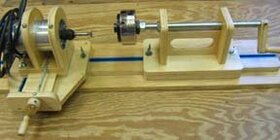
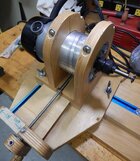
The setup works very well. I did contemplate copying the JaHo but I had concerns with the use of a rotary table. Whilst an RT offers greater flexibility with the number of divisions available I just didn’t think it necessary. I believed, and still do that an indexing plate offered a much simpler, easier and cheaper solution. It’s also very easy to pre mark the plate to avoid making indexing mistakes. This is mine, it looks messy but is easy to use. Once you’ve chosen the spacing it’s just a matter of dropping the detent pin in the relevant coloured hole.
View attachment 82066
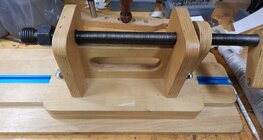
The biggest issue for me has been sourcing dense timbers to get nice crisp cuts. Boxwood and African Blackwood are expensive over here. I have been meaning to experiment using wood hardener on other timbers but I’ve not got round to it yet.