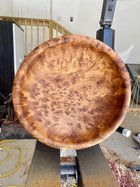
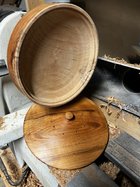
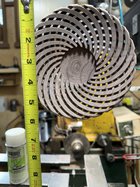
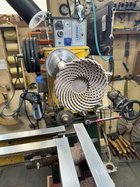
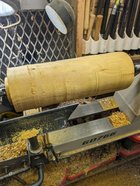
There was discussion about using coarse grits for power sanding of interior surfaces yesterday. I took this pic of a curly maple bowl last night, just prior to sanding the interior. This is a tooled surface, and you'll see there is absolutely no tearout to deal with directly from the tool! I am currently experimenting with some new negative rake scrapers of my own design, along with a new "task-specific" tool rest to accomplish this......so far, so good! The interior surface is almost, but not quite perfectly flat on the bottom, and the transition to the curved sides up underneath the undercut rim needs some help, too. When I use power sanding on interiors, it does speed things up when I need to true up interior surfaces like this.
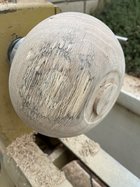
For exterior surfaces, everything is different because of that pesky need to have perfect geometry....and, using any power sanding at all is not in the cards!
")
-o-
View attachment 60060 View attachment 60061